Migrating to a new VPS sounds scary… but it doesn’t have to be.
The biggest fear is always:
- downtime
- broken site
- missing files
- lost emails (if hosted)
- DNS chaos
- SSL issues
The good news?
If you do it the right way, you can migrate to a new VPS with:
✅ 0 downtime (or close to it)
✅ no lost data
✅ a clean rollback plan
This guide shows you the safest step-by-step process to migrate your site to a new VPS without downtime.
Quick Answer (No Downtime Migration Strategy)
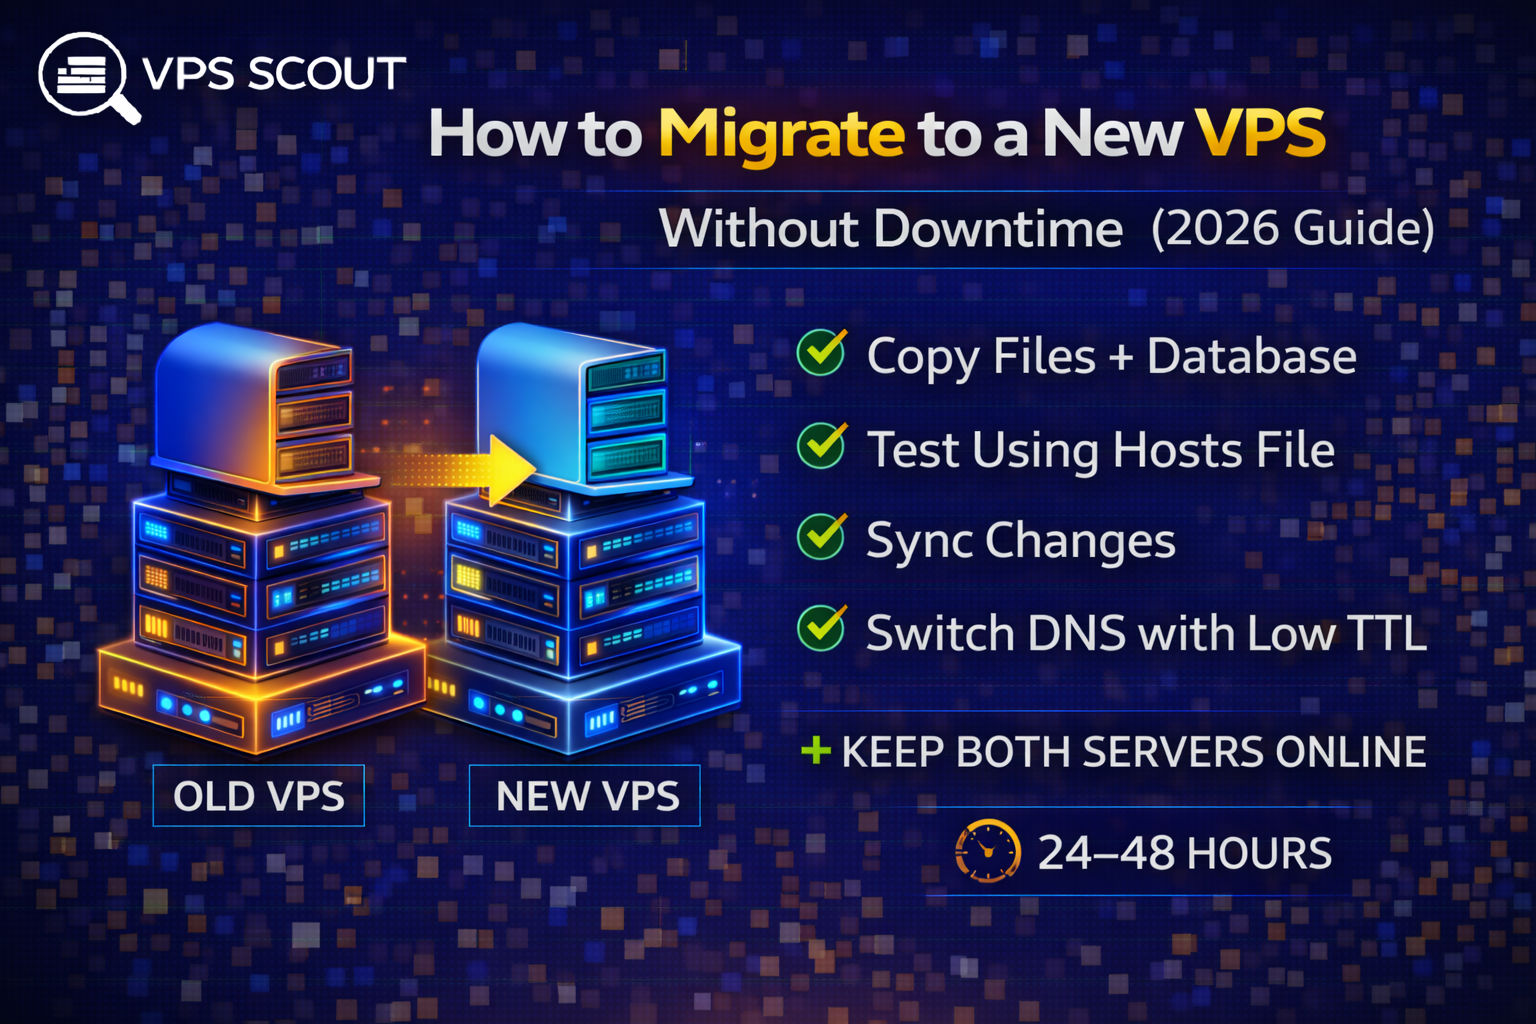
To migrate a VPS without downtime, you do this:
- set up the new VPS
- copy files + database
- keep both servers running
- sync changes
- lower DNS TTL
- switch DNS
- keep old server online for 24–48 hours
That’s the real trick: run both servers at the same time.
Before You Start (Critical Checklist)
✅ 1) Lower DNS TTL (24 hours before migration)
TTL controls how long DNS is cached.
If your TTL is 24 hours, your migration can take 24 hours to fully propagate.
Recommended TTL:
- set TTL to 300 seconds (5 minutes)
Do this at least 24 hours before migration.
✅ 2) Take Backups (Always)
Before migrating:
- take a full VPS snapshot
- export your database
- backup your web files
Read next: VPS backups best practices
✅ 3) Decide Your Migration Type
This guide covers the most common:
Website migration (WordPress, apps)
- Nginx/Apache
- PHP
- MySQL/PostgreSQL
Docker migration
- Docker Compose
- volumes
- env files
Step-by-Step: How to Migrate to a New VPS Without Downtime
Step 1: Set Up the New VPS (Before Moving Anything)
Provision your new VPS with:
- same OS (recommended)
- same web server stack
- same PHP version
- same database version (or newer)
For best compatibility:
- Ubuntu 24.04 LTS is a strong default
- Debian 12 is also great
Read next: Best Linux distros for VPS
Step 2: Secure the New VPS (Before It Goes Live)
Do the basics:
- create a non-root user
- disable password SSH login
- enable firewall (UFW)
- install Fail2ban
Read next: How to secure a VPS
Read next: Do you need a firewall on a VPS?
Step 3: Copy Your Website Files to the New VPS
Option A (Best): rsync over SSH
Example:
rsync -avz --progress /var/www/ user@NEW_SERVER_IP:/var/www/
If you’re migrating WordPress, you’ll usually copy:
/var/www/site/wp-content/
Step 4: Export the Database from the Old VPS
For MySQL / MariaDB
On the old VPS:
mysqldump -u root -p DBNAME > db.sql
Copy it to the new server:
scp db.sql user@NEW_SERVER_IP:~
Step 5: Import the Database into the New VPS
On the new VPS:
mysql -u root -p DBNAME < db.sql
Step 6: Update Config Files (Important)
You’ll need to update:
- database credentials
.envfiles- WordPress
wp-config.php - Nginx site configs
Make sure the site works locally on the new VPS before switching DNS.
Step 7: Test the New VPS Without Changing DNS (No Downtime Trick)
You can test your site on the new VPS without switching DNS by editing your local hosts file.
On Windows
Edit:
C:\Windows\System32\drivers\etc\hosts
On Linux/macOS
Edit:
/etc/hosts
Add:
NEW_SERVER_IP yourdomain.com
NEW_SERVER_IP www.yourdomain.com
Now your browser loads the new VPS, but the world still sees the old VPS.
Step 8: Enable SSL on the New VPS (Before DNS Switch)
If you’re using Let’s Encrypt:
sudo apt install certbot python3-certbot-nginx -y
sudo certbot --nginx -d yourdomain.com -d www.yourdomain.com
If your DNS still points to the old VPS, Certbot might fail.
Workaround
You can:
- use DNS validation (advanced)
- or wait until after DNS switch
Most people do SSL after the DNS switch.
Step 9: Sync the Site One Last Time (Critical)
If your site changes often (WooCommerce, forms, comments), you need a final sync.
Files final sync
Run rsync again:
rsync -avz --delete /var/www/ user@NEW_SERVER_IP:/var/www/
Database final sync
Put your site in maintenance mode (for 2–5 minutes), then do a fresh export/import.
This prevents missing orders or form submissions.
Step 10: Switch DNS (The Cutover)
Now update your DNS records:
A record→ NEW_SERVER_IPwww→ NEW_SERVER_IP
Since TTL is low, most visitors will switch in minutes.
Step 11: Keep the Old VPS Running (24–48 Hours)
This is important.
Some users will still have cached DNS.
Keep the old VPS online for at least:
- 24 hours
- ideally 48 hours
Step 12: Monitor Everything
After migration, watch:
- error logs
- server load
- 502/504 errors
- SSL warnings
- missing assets
How to Migrate a WordPress VPS Without Downtime
For WordPress, follow the same steps, but also:
WordPress-specific checklist
✅ copy /wp-content/
✅ export/import MySQL database
✅ update wp-config.php
✅ update Nginx/Apache configs
✅ search/replace URLs if needed
✅ clear caching plugins
How to Migrate Docker Apps Without Downtime
Docker migrations are often easier.
Copy:
docker-compose.yml.env- volumes (important)
Volumes can be migrated using:
- rsync
- tar backups
Then on the new VPS:
docker compose up -d
(Yes, compose 😄)
Read next: How to deploy Docker apps on a VPS
No Downtime Migration: Common Mistakes
❌ Not lowering DNS TTL
This causes long DNS propagation.
❌ Switching DNS before testing
Always test via hosts file first.
❌ Forgetting a final database sync
This causes missing orders/comments.
❌ Not keeping the old VPS online
This causes random visitors to see a dead site.
FAQ: VPS Migration Without Downtime
Can you migrate a VPS with zero downtime?
Yes, if you keep both servers running and do the cutover using DNS with low TTL.
How long does DNS propagation take?
If TTL is set to 300 seconds, usually 5–15 minutes.
Should I migrate to a new VPS or upgrade the same VPS?
If your provider supports safe resizing, upgrading is easier.
Read next: Best scalable VPS hosting
Final Verdict: How to Migrate to a New VPS Without Downtime
The “secret” is simple:
✅ Set up the new VPS first
✅ Sync everything
✅ Test using hosts file
✅ Do a final sync
✅ Switch DNS with low TTL
✅ Keep old VPS online
That’s how you migrate without downtime like a pro.